Yhteisöllinen työpaja
Fixing Focusrite Scarlett 2i2 and learning how to work rework qfn components with minimal equipment.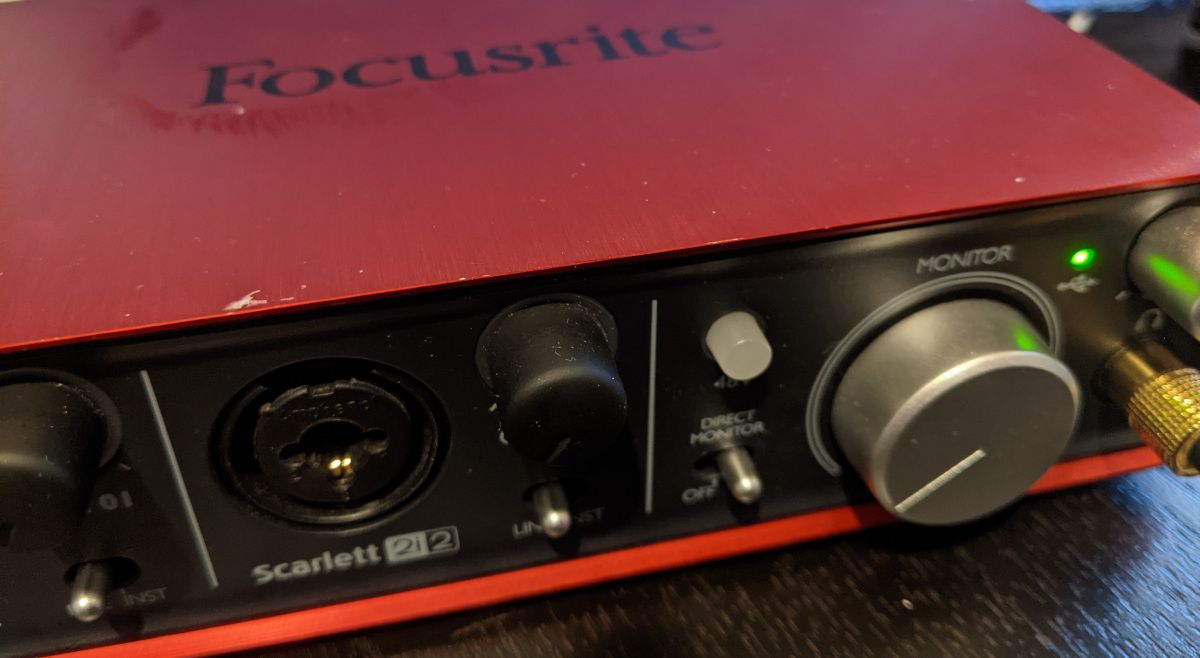
Some time ago (like over a year ago :) I received not one but two Focusrite Scarlett 2i2 usb audio interfaces which both have the same problem. Neither is recognized by the computer. I did try to diagnose them but didn't get far and only found few references to check that all the voltages are ok and they looked correct. The boxes were stored away and I kinda forgot about them until I saw that another Hacklab member Ketturi had fixed one Focusrite Saffire 6 by changing the USB3343 interface chip!
I fixed broken Focusrite Saffire 6 USB soundcard by swapping broken USB3343 interface chip. Somehow I misplaced one capacitor and usb choke, but now computer recognizes it at least. Old chip had usb data lines shorted to ground internally. pic.twitter.com/dOzutpnzTo
— Henri Keinonen (@KetturiFox) November 13, 2020
With this new information it was apparent that USB3343 is a weak point in Focusrite audio interfaces. With some browsing I found multiple people who had fixed theirs by changing the chip so that is what I should also try next. Fortunately Ketturi had one extra chip in his stock and promised to exchange it to a soda. Thanks again Ketturi!
So I had never worked with qfn packages before.
All my SMD stuff has been quite a bit bigger stuff and simple things like resistors and some SOIC stuff where the pin pitch like three times larger. USB3343 is 4x4mm and has 24 pins with 0.5 pitch. That is quite small and really needs magnification. I only have a cheap usb microscope from china but I figured that it should be enough. A bit of fiddling around with the setup and I got the board in a position I could try to work on it.
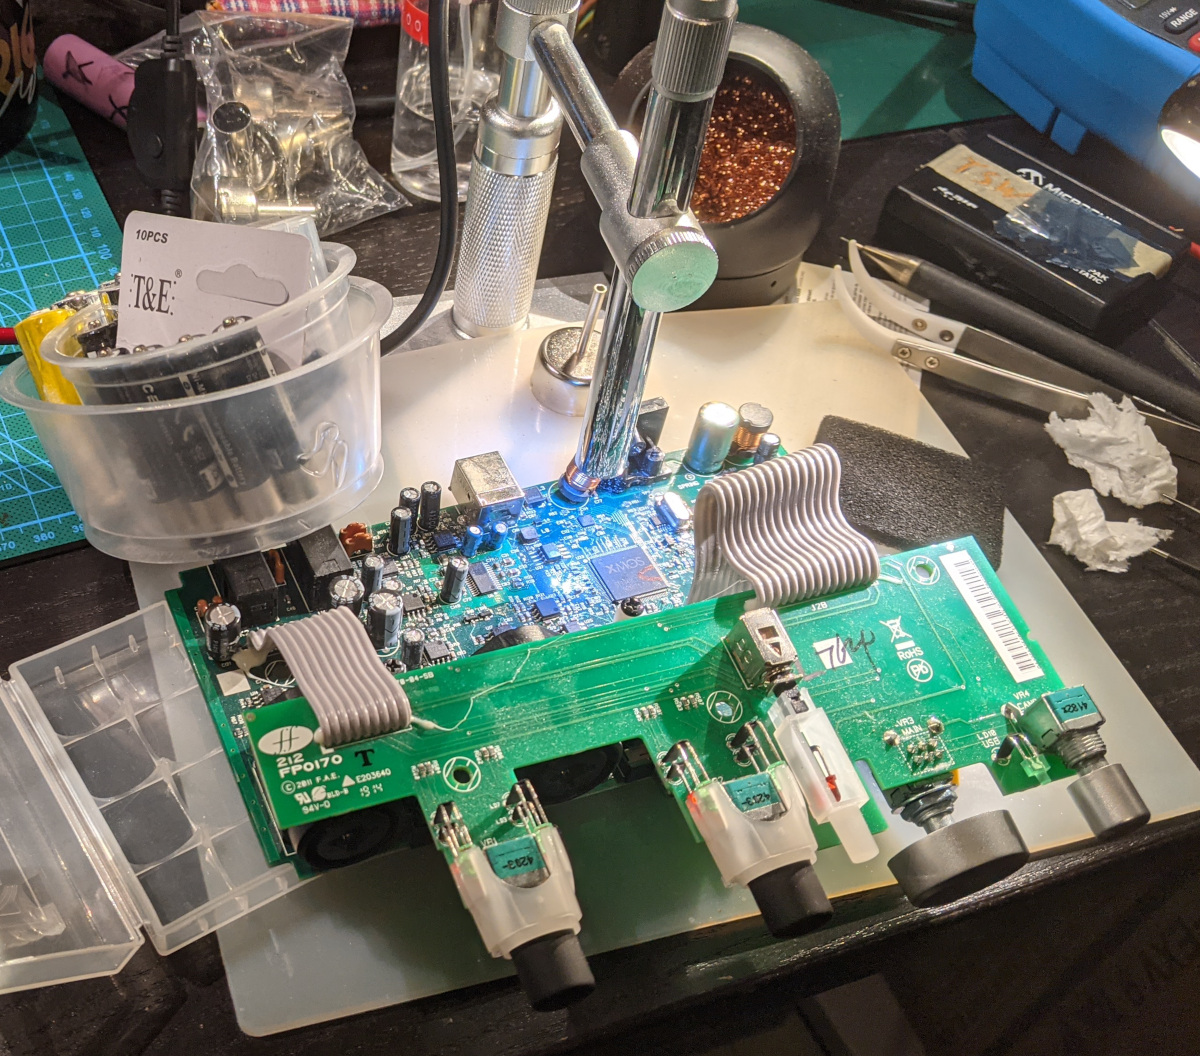
Get plenty of light and some weights to keep the board in place!
My hot air station is cheap chinese clone and soldering station is also cheap chinese t12 clone with not that small tip..
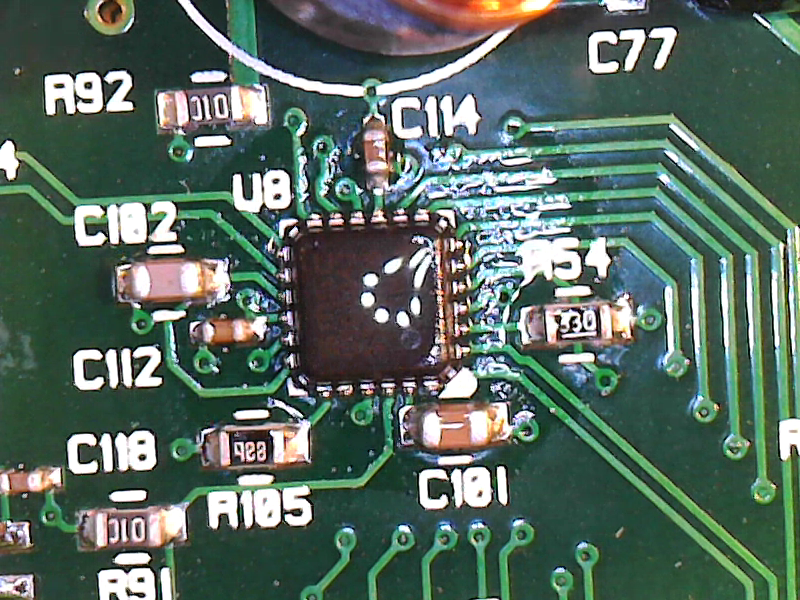
Other things that you will need is good tweezers, plenty of flux, some solder paste and I used solder wick to get rid of some of the extra solder on the ground plane.
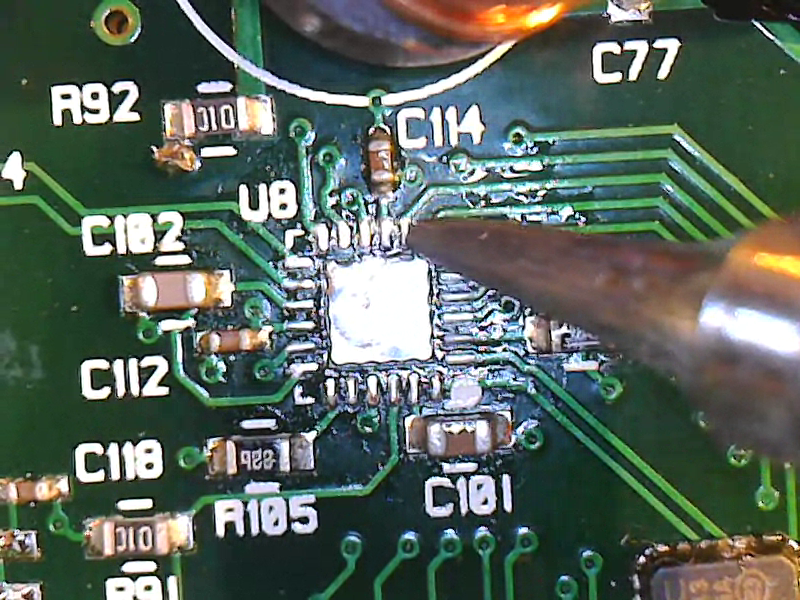
I started with lots of flux on the area and using the hot air gun to first warm up a bit and then lifting the chip off. (sorry for the image quality, I warned that my usb webcam microscope is not great :)
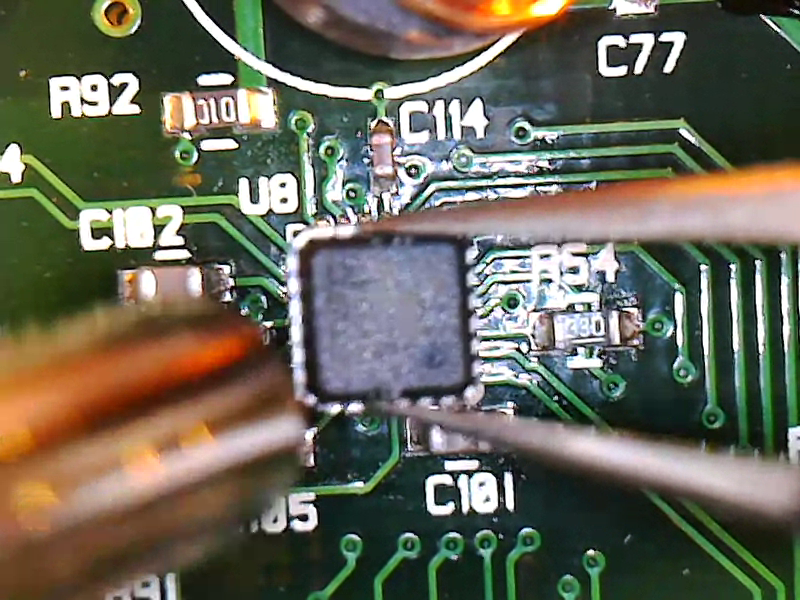
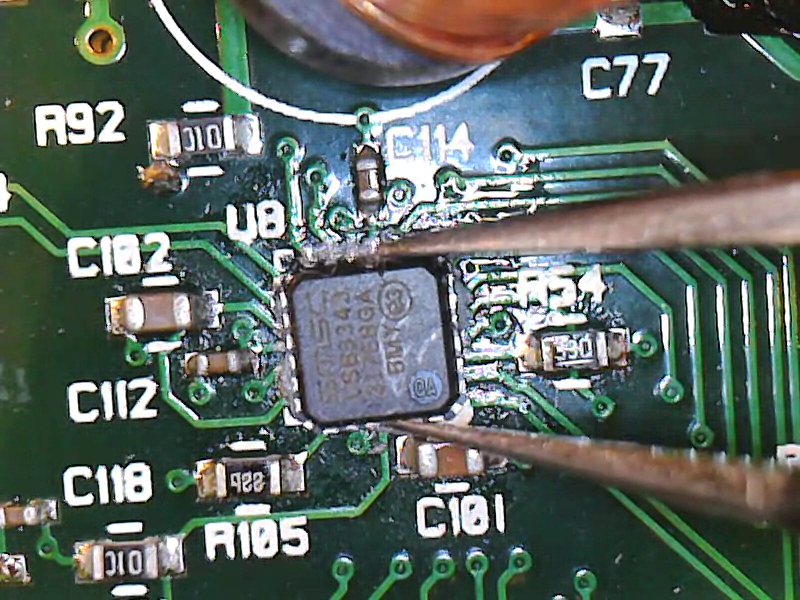
I added bit too much solder paste and set the chip in its place and some more flux too. Some heat and gentle tap with the tweezers and the solder surface tension dragged the chip in place with just some cleanup left.

Remember to clean up the flux and check for bridges (I had to touch up the leads after reflow).
So do I trust my work so much that I should plug the thing into my expensive laptop.. NOPE :) Luckily I have lots of older machines around and those can be sacrificed :)
And it worked!

Nice post about the internals: https://khronscave.blogspot.com/2019/10/55-focusrite-scarlett-2i2-teardown.html
USB3343 is an interesting chip in itself: https://www.microchip.com/wwwproducts/en/USB3343
Share on Twitter Share on Facebook
Comments
There are currently no comments
New Comment